How To Refinish an Oak Front Door
An oak front door is a beautiful feature that will draw admiring looks toward any home. Unfortunately, wood doors can age noticeably over time. Exposed to the sun, dirt, and elements, your door may begin to take on a cracked, parched, and discolored appearance. Fortunately, you don’t have to live with a tired-looking door. Refinishing your oak front door will bring new life and beauty to your home.
1. Prepare Your Work Area
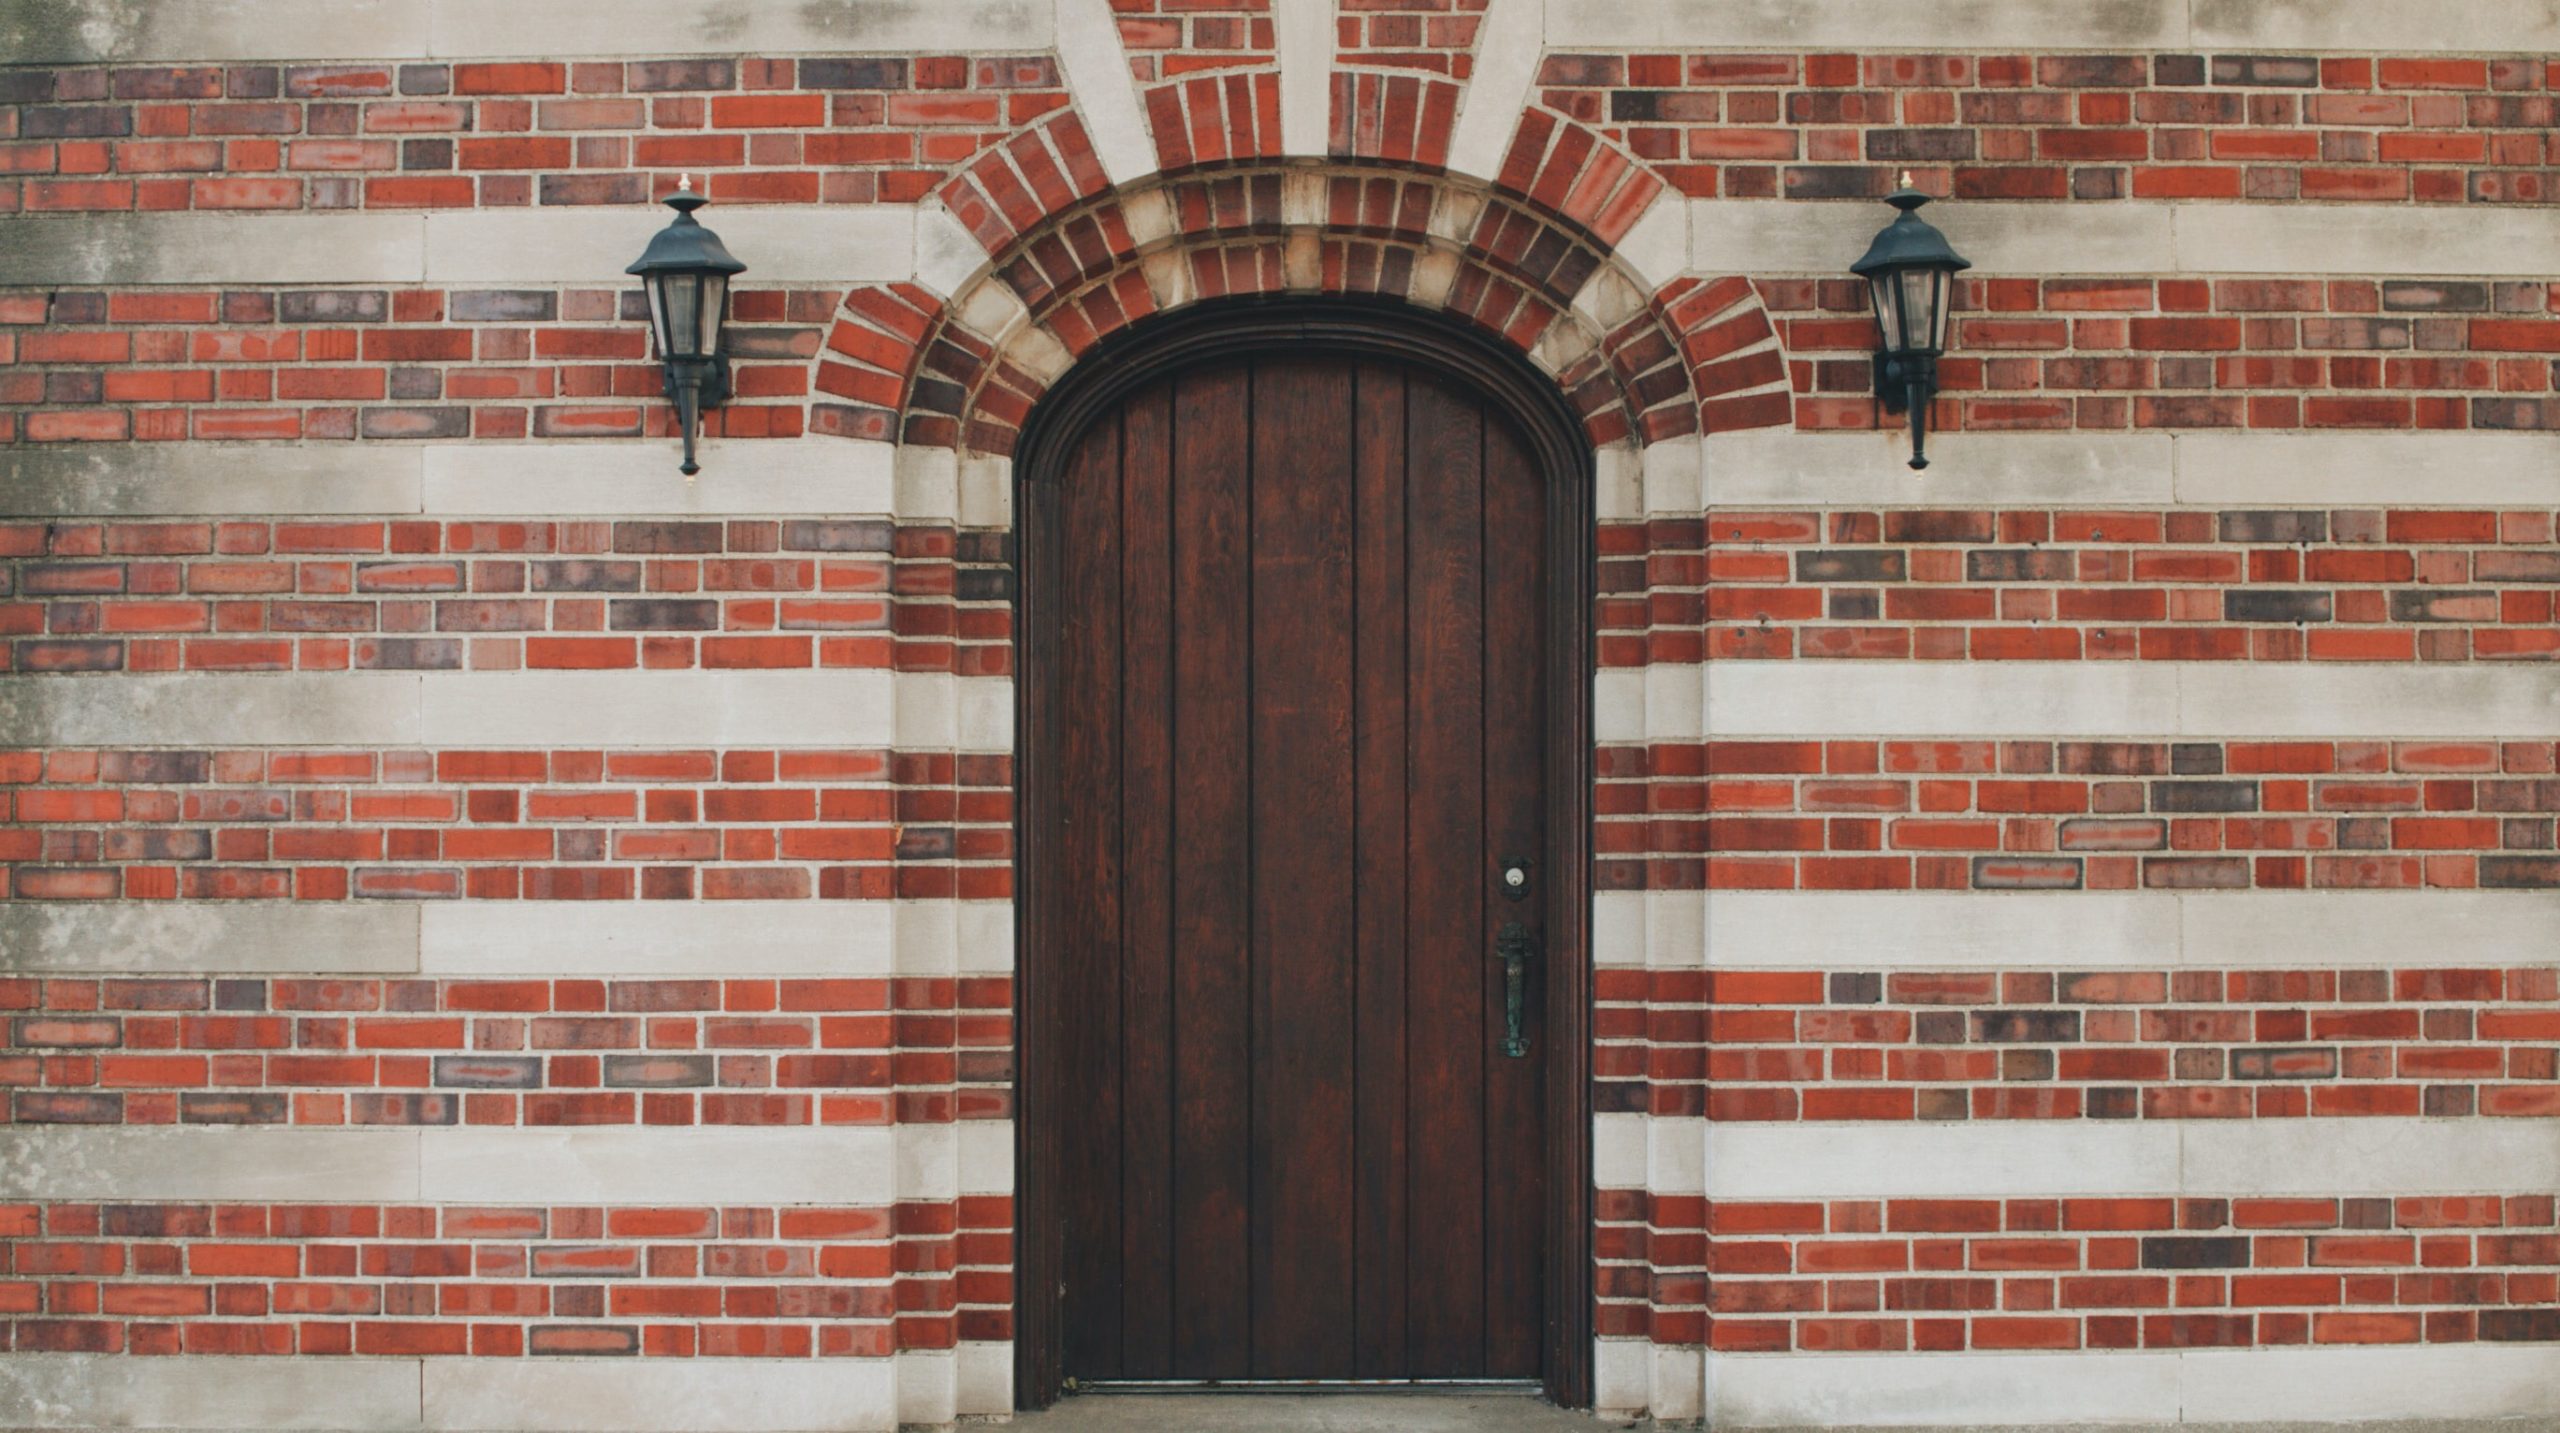
Image via Unsplash by brianna_santellan
You can choose to refinish your door either on or off the hinges. There are some pros and cons to both options.
If you take the door off its hinges, you’ll have an easier time working on the surface. Varnishes and stains absorb better when the surface is horizontal, and you can more easily control drips this way. However, removing the door means that you’ll need to construct a temporary barrier for your front door, such as a tarp or plywood covering cut to the right dimensions. Removing a solid oak door is also a very difficult job that will require at least two people. Once removed, you’ll need to place your door on a pair of sawhorses or a workbench.
Leaving the door on the hinges is less work initially since you don’t have to take the door off or replace it when you’re done. You may still want to cover the door opening with a tarp, but you should be able to close your door in a few hours since you don’t have to wait for one side to dry completely before tackling the other. Unfortunately, actually staining the door is more difficult while it’s horizontal. You must work quickly and be mindful of any drips. You may also need a stepladder to reach the top of the door, and strong knees for the kneeling you’ll have to do at the bottom.
Regardless of your approach, you must cover the ground beneath your door with a drop cloth to catch drips and spills. Wear protective gloves while you’re working, and gather all your supplies before you begin.
2. Clean the Door
Remove all hardware from the door so it’s easy to see the entire surface. If you’re working with a door on its hinges, tape over the hinges with painter’s tape, but remove the knob, lock, and other hardware.
If you’d like to remove the existing finish on the door, you’ll need to begin by applying a stripping agent. Follow the manufacturer’s directions to strip the old finish from the wood. This typically involves letting the stripping agent sit on the wood for a few minutes, then scraping the finish off with a wide scraper. Once the thickest residue is gone, dip a scrub pad in mineral spirits to rub-down the door. Finally, use a rag dipped in mineral spirits to get the remainder of the finish off the door.
Alternately, you can leave the existing finish on the door and cover it with a darker stain. If you’re taking this approach, you must begin by thoroughly cleaning the surface of the door with a wood cleaner. This will remove the built-up dirt, oil, and grime that’s accumulated on the door.
3. Sand the Surface
Give the door a day to dry after either removing the finish or thoroughly cleaning it. It’s important to make sure that the door isn’t moist when you begin working. The next step is sanding the surface. Use 180-grit sandpaper and an orbital sander to smooth all the flat surfaces.
Use a small, sharp scraper to clean up moldings. Sand the small profiles by hand with a piece of 100-grit sandpaper folded in thirds or use a sanding sponge with a sharp corner to get into equally small corners within the door’s molding.
Use a small utility vacuum to remove dust from the door, and wipe it down with a tack cloth to get any remaining dust.
4. Apply Stain
Apply your chosen wood stain to the oak door in small sections, working from the top down. Use a paintbrush to apply the stain. Wait for about three minutes for the stain to sink into the wood, then wipe off the excess with a rag. Use a damp paper towel to smooth out any troublesome drips. One of the perks of oak is that it will soak up stain evenly, leaving you with a beautiful, consistent finish.
Continue across the surface of the door, working slowly across one section at a time. It’s important not to rush and to take the time to evenly apply stain to all the moldings in the door. Allow the stain to dry overnight. If the door is hanging, you can stain both sides in one day. If you set the door on a sawhorse, let the first side dry for a day, then gently lay a soft cloth or sheet over the door and flip it over to work on the other side.
5. Apply a Urethane Varnish
Some wood stains have a polyurethane varnish in them so you can skip this step. However, for most stains, you will want to use one to three coats of exterior varnish to protect your work. Apply the varnish to large flat areas with a paintbrush, and use a small foam brush for intricate carvings or small moldings.
Apply the varnish in thin coats. Allow the varnish to dry and sand the door with 220-grit sandpaper after each application. If the sandpaper is pulling up small tacky balls of varnish, the coating hasn’t dried yet. You should get a fine layer of dust as you sand. When you’re done sanding, use a tack cloth to wipe down the door before the next layer of varnish.
Use one additional layer of varnish along the edges of the door as added protection from moisture and the elements. As with the stain, allow one side of the door to dry completely before turning it if your door is laying flat.
Refinishing your oak front door will dramatically improve the appearance of your home. If you don’t have the time to tackle this task yourself, you can turn to our experienced professionals at Teak Master for expert home restoration services.