How To Refinish Your Front Door Without Removing It
Doors make the first impression on your guests when they arrive at your house. Refinishing a front door can renew its life by making it vibrant and beautiful. The best way to get the job done is to remove the door’s hinge pins and lift it off so you can set it on a flat service and re-stain it. After all, it’s a lot easier to work on a horizontal surface than on a vertical surface, but sometimes, it can be a hassle to do this.
If you’re working alone, the door is large, or has a complicated hinge system, the process can be intimidating. Plus, if you’re applying several coats of finish, the project could take days, and you’ll be left without a door on your house. Here’s where we come in. Our front door refinishing process doesn’t involve removing your front door, which means you can get a new-looking door without the wait time, inconvenience, and hassle. The process is straightforward, and we know just how to do it.
Steps To Take To Refinish Your Front Door Without Removing It
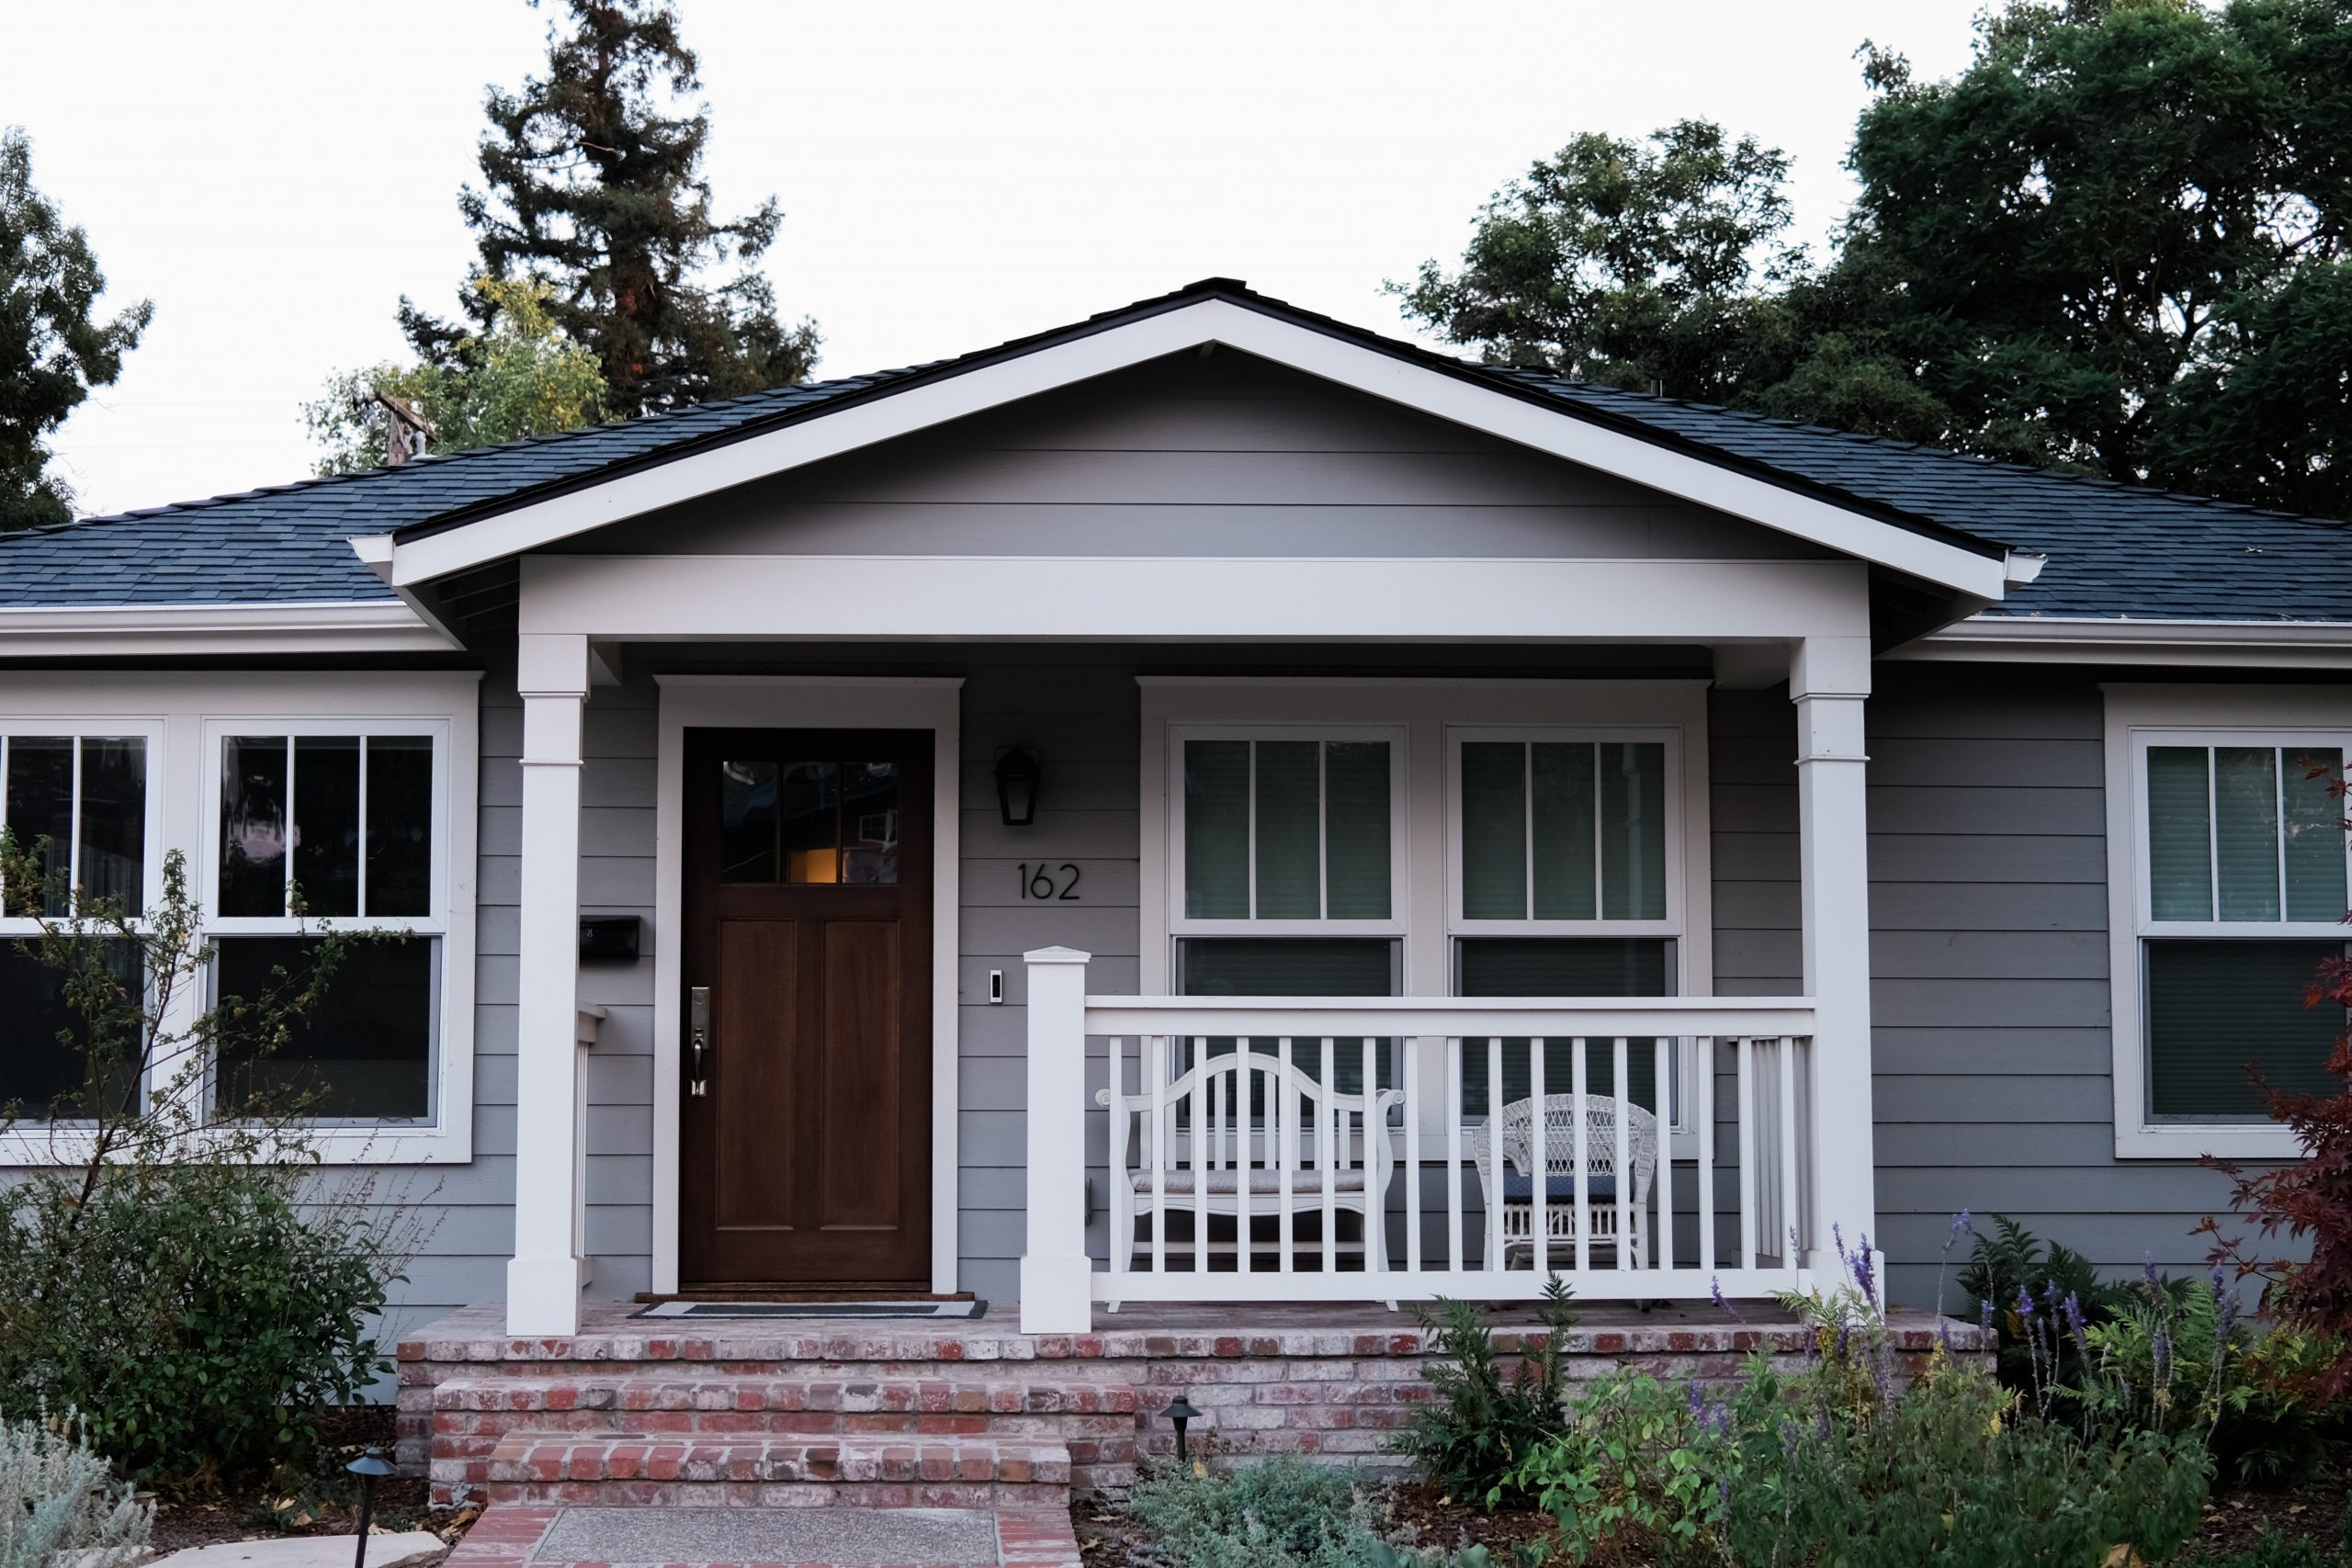
Image by Trinity Nguyen is licensed with Unsplash License
We understand that refinishing a front door without removing it entirely from the house can be a lot of work. That is why we usually follow a few easy steps when refinishing your front door without removing it to ensure its success. While it sounds daunting, our experts know exactly how to do it and restore it to the door of your dreams. We typically follow these steps to refinish your front door without removing it entirely:
Make a Game Plan
This part of the door refinishing process is your only responsibility. Even though we won’t be taking your door down for us to refinish it, you will have to keep the front of your house open for the majority of the day so we can get our work done. Making a game plan to accommodate this situation can help make the process as smooth as possible.
If you have kids who may run out the front door, consider blocking the front door with a disposable baby gate. If you have dogs running out the front door, a taller baby gate may be helpful, but you may consider crating them for periods or dropping them off at a doggy daycare center for the day.
Remove Tarnishable Items
Next, let us know if there are any items that you want to avoid getting soiled while the refinishing process occurs. This may include locks, knockers, the door sweep, strike plates, and decorations such as wreaths and other adornments. This will ensure that these items stay fresh and clean to match your newly refinished door.
Remove the Old Finish
Even though the door has faded over time, much of its finish is still on the door. We’ll strip the door down to bare wood for the most durable and aesthetically pleasing outcome. We’ll remove the old finish by using a strong and effective stripping agent to rid the door of either varnish or polyurethane layers. After we strip off the old finish, we’ll lightly sand it to eliminate any remaining finish or debris. Sanding also helps to smooth out any new and exposed raw surfaces.
The amount of time it will take to remove the old finish entirely depends on the type of finish it is. If the door has a thicker finish, we’ll need to use a heat gun, a chemical stripping gun, and a scraper. However, most finishes can be removed with just a sander.
Apply the Pre-stain Conditioner
Some wood is blotch prone, including poplar, maple, cherry, birch, and alder. Staining doors made of those materials can cause blotches if you don’t apply any pre-stain conditioner. If we determine that your door is blotch-prone, we’ll apply some pre-stain conditioner before we stain it. We do this by simply painting this conditioner directly onto the door. We’ll sand the door down a bit if needed to ensure it’s smooth and ready for staining.
Apply the Stain
The next step in this refinishing process is the most important one. We’ll then apply the pre-selected stain to recolor your door. We’ll pay extra careful attention to our application to ensure there aren’t any streaks or overlaps in the stain.
It’s common for front doors to only require refinishing on the outside. This is because it usually gets exposed to the sun’s ultraviolet (UV) rays, which can dry it out and cause it to fade. We can also do this if you prefer to have both sides refinished.
Apply the Top Coat
After the stain dries, we’ll seal it by applying layers of our special top coat. We’ll apply three layers of the finest coating, sourced from Denmark and used to finish yachts and boats worldwide. We allow each coat to dry before applying a new layer. We also sand the door between layers to make it as smooth as possible for the next coat. This ensures that the finish is smooth, durable, and furniture-grade by the time we’re done.
Re-install the Hardware
To complete your front door refinishing process, we’ll finally reinstall all hardware on the door. This can include doorknobs, knockers, hinges, screws, and other hardware. If you’d like to update your door completely, you may consider purchasing a new door knob and knocker and any aesthetic or practical hardware you want to see on the refinished door. Changing out these details can give your front door a completely new, fresh look overall.
Refinish Your Front Door With Teak Master
There you have it: the seven easy steps we take to refinish your front door without completely removing it. The process is quicker and easier than you’d think, and the results are exceedingly beautiful and well worth the effort, time, and money. If you’re ready to take the next step to bring new life to your home and refinish your door to restore it to its best, contact Teak Master online or call us at 888-292-7215. Our door refinishing experts would love to answer any questions you may have and get you started on your refinishing journey.