How to Restain a Deck Without Stripping the Wood
Homeowners know a house requires a lot of maintenance and is worth every inch of effort and every penny you put into it. A well-maintained home brings joy beyond measure and grows with the family. A deck extends your living space into the outdoors and is a wonderful gathering place when the weather permits. If your home has a deck, this is the spot where many of your cherished memories will be made.
Knowing how proper care and maintenance for your deck will extend the life of the wood and ensure your family is safe when enjoying time outside is important. Staining a deck will protect the wood and give it a finished look. A lot of sweat goes into cleaning and prep work for your deck before you restain it and sometimes you just don’t want to take that extra step to strip the wood. Read on to learn how to restain a deck without stripping.
Tools You May Need to Restain Your Deck Without Stripping
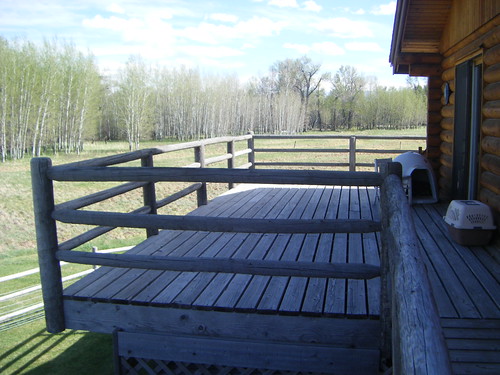
Image via Flickr by bradleygee
When cleaning and restaining your deck, you may need the following tools:
- Sander.
- High pressure washer.
- Clear plastic covering.
- Broom.
- Garden hose.
- Safety goggles.
- Gloves.
- Long-sleeve shirt.
- Protective footwear.
- Noise protection (if sanding or using other loud power tools).
- Drill.
- Hammer.
- Putty knife.
- Paintbrush.
- Paint pan.
- Paint roller.
Prepping a Deck for Restaining
The most important part of restaining a deck is the prep work. Ensuring you have treated the wood properly, given it proper time to dry, and have a clear and clean work surface can make the project move smoothly and efficiently. Consider taking the following steps before restaining your deck:
- Remove all furniture before you begin. This includes the barbecue, any toys, rugs, and accessories, such as planters.
- Soak the ground around the deck. Giving extra water to any plants that border the area will minimize any damage they may suffer due to runoff.
- Cover hard surfaces and plants properly. This will protect plants and hard surfaces, such as outdoor countertops, from catching drips and splashes.
- Sweep the deck. Sweeping will loosen excess dirt and debris.
- Check for loose screws and boards. Tighten any loose screws and replace nails where needed.
- Replace any damaged planks. If you find warped or split wood, this is a great opportunity to replace them.
- Check for and clean off any stains. You can use some soap and water to help you get rid of any stubborn stains from food spills or natural wear and tear.
Cleaning the Surface
Once the area is clear and you’ve done some spot maintenance, it is time to make sure the area to be restained is clean. Proper cleaning will get rid of any dust and debris that may be hiding in the nooks and crannies. Because dust will prevent the wood stain from properly adhering to the wood, this step is crucial. Your final results will be even coverage that lasts longer because of this precaution. If you have a power washer, start in the corner and work your way across your deck in straight lines. Make several passes over each section to ensure a deep cleaning.
If you don’t have a high-pressure washer, consider using a deck cleaner. Begin by sweeping all the debris away from your deck and then apply an even layer of the deck cleaner onto the deck. As it seeps into the wood, it removes dirt, mildew, algae, leaf imprints, and other stains caused by regular use. Next, use your garden hose to rinse off the cleaner completely.
Then let the deck dry for about three days or 72 hours. It is best to do this when you know the weather will be dry for a while, so be sure to check out the forecast before you begin.
Steps for How To Restain Your Deck
After all the prep work is complete, you are ready to stain your deck. The type of wood you have and the type of stain will factor into the method you use. If you are using a wood toner, semi-transparent stain, semi-solid, or clear wood sealant, you will need to apply a single coat using a high-quality roller, brush, or sprayer. This will give you the smooth, clean, and clear finish you want. For a solid color stain, you’ll need to apply a couple of coats for even coverage. These are the basic steps you’ll need to follow when applying your deck’s new stain:
- Read the manufacturer’s instructions and warnings carefully. Some stains require specific drying times and are intended for specific climates. Ensure your stain is appropriate for our California sun and heat.
- Cover surfaces you don’t want stained. Use a plastic covering for larger areas and consider some painter’s tape to help cover smaller details.
- Use the right brush. You’ll want a quality brush with natural bristles to provide the best coverage. Brushes typically work better with wood as each bristle conforms to the wood grain.
- Do a spot test. In a hidden area, test the stain directly on the deck to make sure it gives the coverage and aesthetic appeal you want.
- Go with the grain when applying the stain and use thin even layers. Do several planks at a time. Work the stain into joints and between planks for complete protection.
- Wipe off any excess stain that does not absorb promptly. This will help give your deck a polished and even color.
- Once the entire surface is covered, do some touch-ups. Back-brush to make sure all the wood is covered.
- Clean up your painting tools. Let the brush dry with the bristled pointed downward.
- Wait for everything to dry. Let the stain dry completely before you return the furniture and other items to their spots. You don’t want stain sticking to the bottom of your family’s rocking chair.
Restaining your deck can improve the overall look of your yard and prolong the life of your deck. If you have kids and pets, a properly maintained deck is an important step in keeping them safe from slips and splinters. The more meticulous you are in executing the preparation work, the better your ultimate results will be.
Here at Teak Master, we have perfected our techniques for refinishing and maintaining each wood commonly used on decks. We are familiar with the California climate and know exactly what each wood material requires to combat the heat and humidity. Contact us to receive the quality service and specialized information you need to provide your deck with the highest level of protection to withstand our Southern California environment.