How to Restain a Wooden Fence: Our Step-by-Step Guide
A beautiful wooden fence can greatly enhance the look and feel of your home. This is a useful installation if you have pets or children that you need to contain, but a good fence will do more than just establish barriers. It can also provide continuity to your outdoor landscaping and create an attractive backdrop for your trees, shrubs, and other plants.
The Importance of Restaining Your Fence
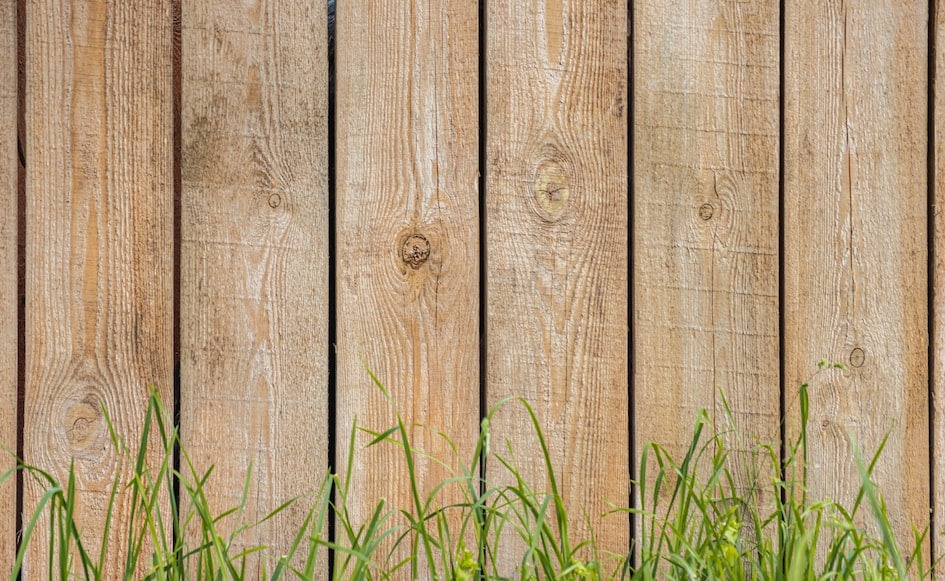
green grass beside brown wooden fence by Sergey Lapunin is licensed with Unsplash License
A wooden fence can add functionality and appeal to your home, but it requires routine care and maintenance to perform properly. Restaining your fence yields several key benefits.
Protection Benefits
Exposed wood absorbs moisture, creating a welcoming environment for mold and mildew. These microbial growths will eventually lead to serious wood rot. The dry air isn’t great for exposed wood, either. An unstained natural wood fence will dry out and crack when exposed to excessive UV rays. Wood stain also protects your fence from bugs. Most pests won’t nest in or near stained wood, though they’ll happily make a home in natural wood.
Aesthetic Benefits
Wood stain helps preserve the lovely natural aesthetic of your wooden fencing. It gives the fence a deep, rich color that accentuates the natural grain. This will undoubtedly add to your curb appeal. Staining also reduces glare by helping the fence surface absorb rather than reflect light. This makes the fence easier to look at because you don’t have to squint away from the sun’s reflection.
When Should I Restain My Fence?
You should typically plan to restain your fence every two to three years. In a drier climate like Southern California, you may get away with staining your fence less often, especially if your fence is shaded. South-facing fences get a lot of UV light, which breaks down the stain more quickly. You’ll need to restain your fence more often if it’s made from a softwood like pine. Rot-resistant wood like cedar will last longer between applications.
Signs Your Fence Needs Restaining
Your fence needs to be restained when it starts to show signs of wear. This includes mold, mildew, and rot. The stain will also fade with age. If the fence simply doesn’t look as good as it used to, you may want to consider restaining it. Warped or sagging boards are another sign that it’s time for your fence to be restained.
Weather Considerations
You should wait until you have a clear forecast to restain your fence. It’s best for the stain to remain dry for at least 24 hours after application, so you want to avoid rain if possible. In the Los Angeles area, this means avoiding January, February, and March, which are the rainiest months of the year. The period between May and September is ideal for restaining your fence in this area, as rain is at a minimum.
Preparing for the Job: Materials and Tools
Gather the appropriate tools and materials before you begin so you have everything on hand for your project.
Materials Checklist
- Wood stain.
- Wood sealer.
- Medium-grit sandpaper.
- Chemical cleanser or bleach (optional).
Tools Checklist
- Power washer.
- Paint roller.
- Paintbrush.
- Safety glasses.
- Rubber gloves.
- Goggles.
The Restaining Process
You can restain your fence in just a few simple steps. Keep in mind that you will need to allow plenty of drying time between steps, so the process will take several days from start to finish.
1. Pressure Wash the Fence
Use a pressure washer that runs at 1,500 to 2,000 psi. Avoid anything that’s more powerful, as it can damage the wood. Attach a garden hose to the pressure washer hose and attach a 25-degree tip to the wand. Put on your gloves, goggles, and safety glasses before you begin. Turn on the garden hose and hold the trigger on the wand until water runs through. If your fence is severely sun-bleached or damaged, you may want to use a chemical cleanser or a mixture of one part bleach to three parts water.
Start your pressure washer at a low setting between 500 and 800 psi. Increase as needed such that you’re removing the grime and wood flakes from the fence without gouging the wood. Work slowly along the planks with the tip of the wand positioned 8 to 18 inches from the fence.
2. Sand the Fence
Wait for at least 24 hours to allow the fence to dry thoroughly. When the wood is completely dry, you can begin sanding. Press just hard enough to smooth the surface of the fence and remove any remaining stain from previous applications.
3. Apply Stain
Use a medium-nap roller to apply a thick coat of stain to the fence. Cover about three feet at a time, then go back with a paintbrush and hit the trim, corners, and any drips. Let the stain dry for an hour, then apply a second and third coat if desired.
4. Seal the Fence
Wait 72 hours for the wood stain to dry completely. Apply wood sealer with a paintbrush to seal the wood pores, preserve the stain, and give your fence a beautiful, glossy finish.
Post-Restaining Care and Maintenance
To keep your fence in prime condition between stain applications, it’s important to keep up with routine maintenance. You should regularly inspect your fence so you can address problems as soon as they appear. Periodically, you’ll need to:
- Replace any nails or screws that are loose or missing.
- Tighten loose boards.
- Replace damaged or rotting boards.
- Clean grime, mold, or mildew with a gentle brush.
- Trim vegetation around the fence.
- Realign sagging gates.
Professional Restaining Services
If your fence needs a little extra care and attention, you may want to invest in professional restaining and restoration services. At Teak Master, we have specialized tools and equipment that will ensure your fence gets the best service possible. We provide customized services tailored to your fence material and climate. Contact our team today for a consultation to find out what we can do for your fence.