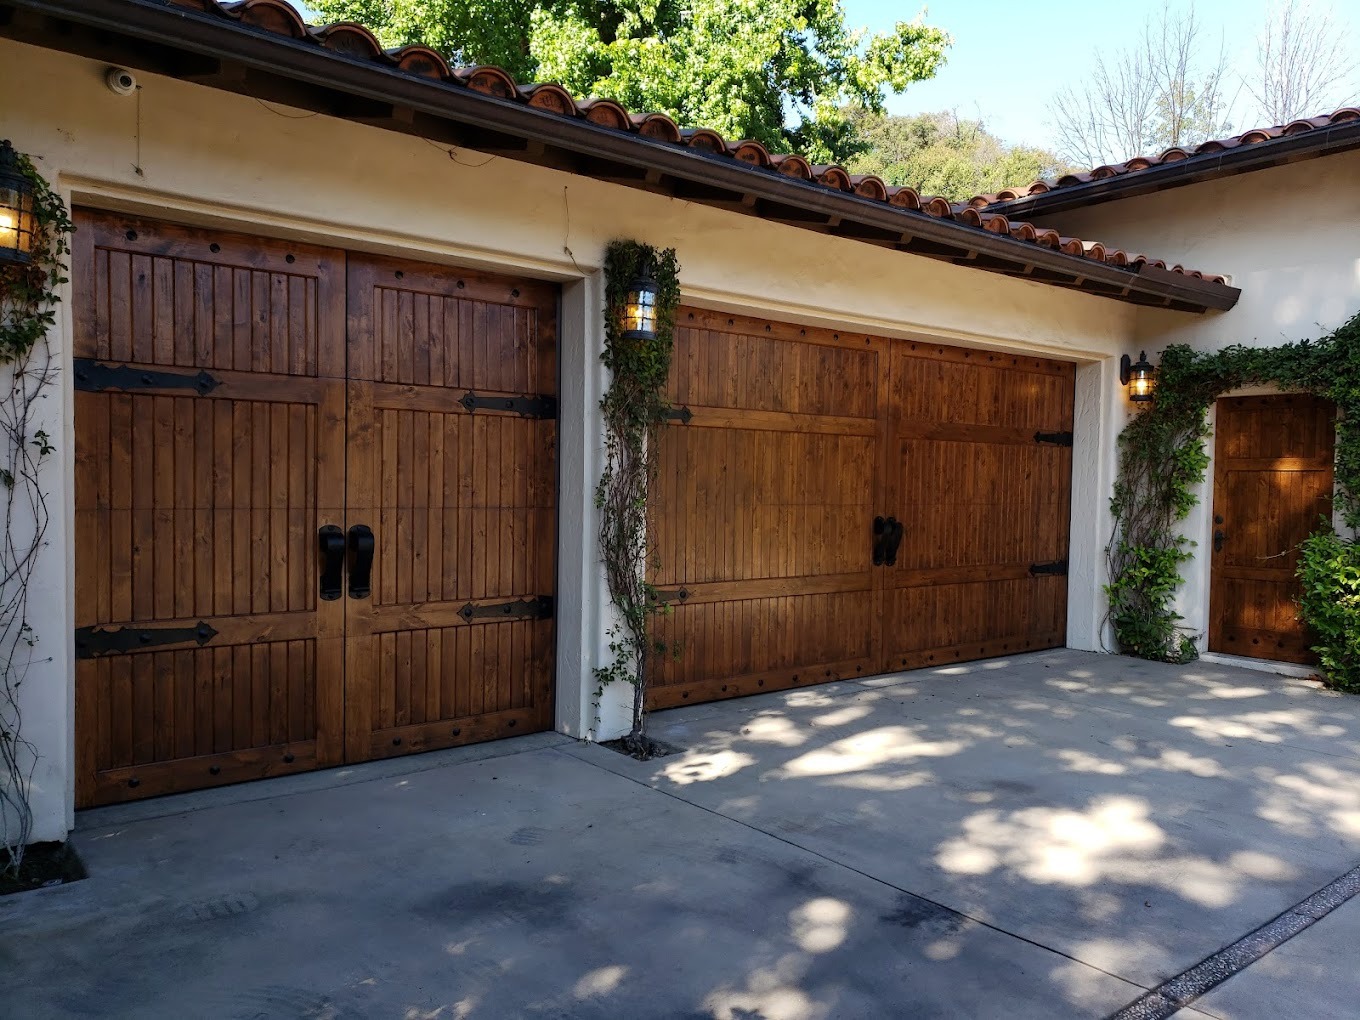
How to Sand a Wooden Garage Door
Your garage door is continually exposed to the outdoor elements. In Southern California, this can mean exposure to ample sunshine, warm temperatures, and damaging ocean salt in the air. Bright sunlight can fade the paintwork, while battering winds from the ocean can expose your wooden garage door to excessive wear.
Regularly sanding and refinishing your garage door can help minimize the effects of weathering over time. This simple task goes a long way toward improving the aesthetics of your home.
Why Sand Your Wooden Garage Door?
Sanding is the first step in refinishing your garage door. Whether you’re applying a new coat of stain or repainting the door, you must clean and sand the surface before you start. Refinishing your garage door will help protect the surface from weathering. Over time, sand, salt, dirt, and debris can build up on the surface of your wooden garage door thanks to the gusty winds of Southern California. Sanding helps remove this buildup, allowing you to apply new paint or stain effectively to a fresh, clean surface.
Sun exposure causes the topcoat on your garage door to thin out, providing less protection than desired. If your garage door faces west or south, you’re especially susceptible to this type of damage. Sanding can successfully remove that thinning topcoat so you can apply a fresh, thick layer.
Paint and stain act as powerful protectants on the surface of your wooden garage door. If the paint or stain is cracked, chipped, peeling, or otherwise damaged, your door is less protected, exposing it to problems such as wood rot and pest damage. Sanding helps wipe away the compromised coating, as well as any damage on the outer layer of the door, so you can start fresh and properly protect what you have.
Tools and Materials Needed for Sanding
Before you begin the sanding process, you’ll need to gather the necessary tools and materials for the job. This is a fairly routine maintenance task. If you tackle DIY projects often, you’ll probably have most or all these items on hand. Items you’ll need include the following:
- Scraper.
- Pressure washer.
- 5-in-1 painting tool.
- Wood filler.
- Caulking gun.
- Medium-grit sandpaper.
- Vacuum with a brush attachment or cloth.
Preparing Your Garage Door for Sanding
Before you start sanding, it’s best to scrape away any sizable problem spots. Use a scraper to remove flaking or peeling paint. If your garage door has a significant amount of peeling paint or is covered with a thick layer of dirt and grime, consider using a pressure washer to clean it.
If you’re dealing with wood rot, it’s important to completely remove this part of the wood. Use the scraper and a 5-in-1 painting tool or a similarly sharp tool to scrape away and dig out the rot. If you can’t thoroughly remove the rot, it might be best to get the door replaced. Leaving the wood rot in place will only cause the door to deteriorate further.
Use a wood filler on areas where the surface of the door is noticeably marred. This is essential if you’ve scraped away a significant part of the door due to rot. You can use this in cracks, gaps, and seams in the wood as well. A caulking gun can provide more accurate application in these smaller areas. Follow the instructions on your wood filler. Some products recommend applying a wood hardener to the area first.
Allow the door and wood filler to dry completely before proceeding to the next steps.
Sanding Techniques for Wooden Garage Doors
Sanding is a crucial step in the refinishing process, as it smooths out the surface of the door and gives you a flat, clean surface to work with as you continue through the following steps:
- Use medium-grit sandpaper to sand the door, and work panel by panel, moving with the grain as you go, not against it. An electric sander is the most efficient choice for this task.
- If you have rusty fixtures on the door, address these with heavy-grade sandpaper.
- Vacuum the door with a brush attachment or wipe it down with a cloth to remove dust from the surface.
If your wooden door develops dark spots as you’re sanding it, this probably means that you’re working on redwood, cedar, or another type of wood with tannins. These natural acids will work their way up to the surface as you sand. You can restore your wood’s original color with a wood brightener.
Regular Maintenance and Care Post-Sanding
Once you’ve sanded your garage door, you can move on to the remaining steps in the refinishing process. Protect your work area by laying a drop cloth on the ground and covering handles, hinges, and other fixtures with painter’s tape. You can then proceed with either a wood stain and sealant or a primer and paint.
Wash the surface of your wooden garage door at least once a month to prevent any buildup of grime. This also gives you an opportunity to inspect the door for signs of damage. Cracks and chips provide an entry point for moisture, mildew, rot, and insects. Spot-treating these areas may extend the life of your door.
Plan to repaint or restain your wooden garage door at least once every three years. You might want to increase the frequency to once every year or two if your door is exposed to direct sunlight, harsh winds, or ocean spray.
Refinish Your Door Regularly
Sanding and refinishing your wooden garage door frequently can help preserve the unique beauty and distinctive curb appeal of your home. Properly sanding and prepping your garage door takes patience and care. If you rush the task, you can end up with an uneven or marred surface that defeats the purpose of the job. Take your time to refinish your door properly, or contact a professional restoration company, such as Teak Master. We deliver years of expertise and a full suite of quality tools to make sure the job is done right.