
Why Some Wood Outdoor Furniture Turns Blotchy After Oiling
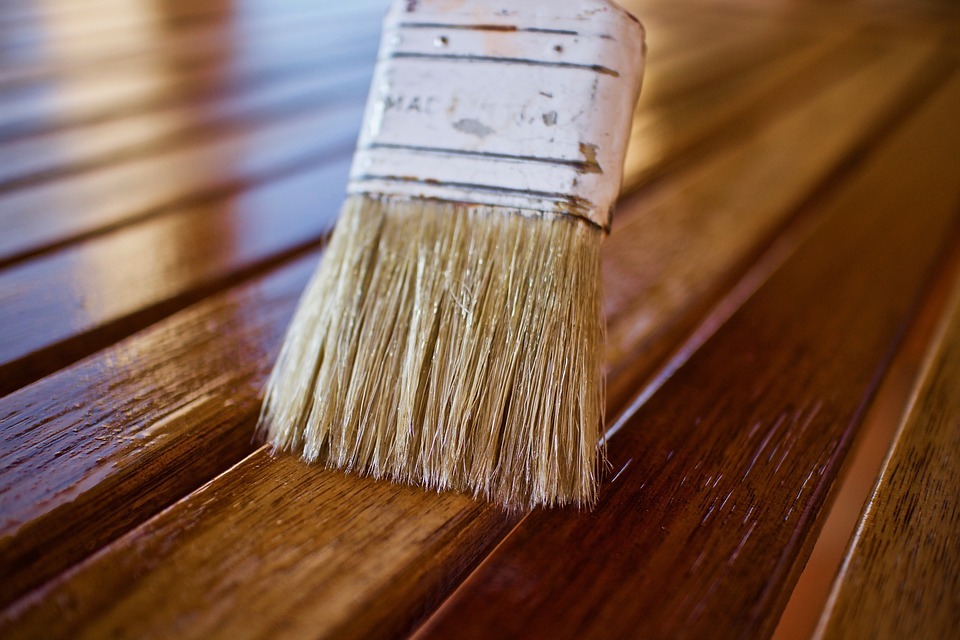
Image by sweetlouise is licensed with Pixabay License
There are few things more frustrating than spending an afternoon carefully oiling your outdoor furniture, only to step back and find it looks worse than before. Dark spots and streaky color make the wood look neglected rather than restored.
This is one of the most common complaints we hear from homeowners who maintain their outdoor pieces themselves, and it almost always comes down to a handful of avoidable mistakes. As wood restoration specialists with decades of hands-on experience refinishing exterior furniture across Southern California, we’ve seen every variation of this problem. At Teak Master, we know exactly what causes it.
Why Protecting Wood Outdoor Furniture Is Trickier Than It Looks
Protecting outdoor wood looks straightforward on paper: open a can, apply the product, and let it dry. The reality is considerably more involved. How much oil the wood can take, what condition the surface is in, and the time of day you apply it all play a role in whether you end up with a rich, even finish or a blotchy mess. Even the weather forecast matters more than most people expect.
Wood is a natural material with its own grain structure, density, and porosity. These characteristics vary not just between species, but within a single board. That variability is precisely what makes a uniform oil finish difficult to achieve without the right approach. The oil doesn’t simply coat the surface; it interacts with the wood’s cellular structure. When that interaction happens unevenly, you get blotchiness.
The Most Common Reasons Finishes Turn Blotchy
Most blotchy finishes trace back to a predictable set of causes rooted in technique, timing, or product selection. Each one deserves a closer look.
Uneven Wood Porosity and How It Affects Absorption
Wood species vary significantly in their porosity, and that directly shapes how they absorb oil. In high-porosity areas like end grain, weathered sections, knots, and repaired spots, the wood soaks up oil quickly and deeply, producing richer, darker patches. In denser areas, the oil sits closer to the surface or barely absorbs at all, leaving visibly lighter spots behind.
Teak, ipe, and cumaru are dense hardwoods with natural oils already present in their cellular structure. This makes them particularly prone to uneven absorption if the surface isn’t properly prepared beforehand. Even within a single teak plank, the grain can shift between tight and open areas. Apply too much product at once, or skip a conditioning step, and you’ll see that variation clearly in the finished surface.
Skipping Surface Prep on Dirty or Weathered Wood
Weathered outdoor wood develops a gray, oxidized layer on its surface over time. That layer, along with accumulated dirt, sunscreen residue, and old finish remnants, acts as a barrier between the new oil and the wood beneath. When oil meets that barrier, it sits unevenly, absorbs inconsistently, and dries blotchy.
Cleaning and sanding aren’t optional steps you can skip to save time. They’re the foundation of a good finish. Without them, even the highest-quality oil will underperform because the surface simply isn’t ready to receive it. Skipping prep is one of the most reliable ways to ruin an otherwise good effort.
Applying Oil in Direct Sun or High Heat
Temperature and direct sunlight have a powerful effect on how oil behaves during application. When you oil furniture in full sun or during the heat of the afternoon, the oil begins surface-skinning almost immediately after it contacts the wood. These are conditions we see consistently across Southern California from spring through fall. Without the right approach, you lose the window of time needed to spread the finish evenly, blend wet edges, and wipe away excess.
That does not mean quality results are impossible in warm weather. At Teak Master, our team has decades of hands-on exterior wood refinishing experience and understands how different temperatures, humidity levels, sunlight, and wind affect the application process. We regularly work in conditions above 85°F throughout Southern California by adjusting our techniques, timing, and workflow to suit the environment. That first-hand experience allows us to produce consistent, professional results even when conditions are less than ideal.
For DIY projects, however, morning applications on a shaded surface with temperatures below approximately 85°F provide a much larger margin for error. Those conditions give the oil more time to penetrate the wood evenly, making it easier to achieve a uniform finish without streaks, overlap marks, or dark spots.
Leaving Excess Oil on the Surface Without Wiping
Wood can only absorb so much oil at a given time. Whatever it can’t take in simply sits on the surface, and if it isn’t wiped away, it dries into a sticky, uneven film. That excess oil doesn’t just look bad; it interferes with proper curing, attracts dust and debris, and eventually develops an irregular sheen that looks blotchy across the entire piece.
The rule for most penetrating oils is to apply a generous coat, allow it to soak in for the recommended time, and then firmly wipe away everything that remains.
Using the Wrong Oil for the Wood Species
Not every oil works with every wood. Teak has a naturally high silica and oil content that makes it resistant to many finishing products. Using a light general-purpose oil on teak often results in poor penetration and patchy color because the wood’s natural chemistry repels it. Ipe presents a similar challenge and is particularly sensitive to inadequate prep. Softer species like cedar and redwood absorb oil much more readily and require a different approach entirely. Thin coats and a disciplined wipe-back process are essential.
The table below outlines how common Southern California outdoor wood species compare in terms of porosity, absorption, and blotch risk:
|
Wood Type |
Porosity Level |
Oil Absorption Rate |
Blotch Risk |
Recommended Finish Type |
Coastal Suitability |
|
Teak |
Low–Medium |
Slow (natural oils resist penetration) |
Medium |
Penetrating teak-specific oil or UV-inhibiting exterior finish |
Excellent |
|
Ipe |
Very Low |
Very Slow |
High |
UV-inhibiting penetrating oil; prep is critical |
Excellent |
|
Eucalyptus |
Medium |
Moderate |
Medium |
Penetrating exterior oil; light prep required |
Good |
|
Cedar |
High |
Fast |
Low–Medium |
Penetrating exterior oil; thin coats essential |
Good |
|
Redwood |
High |
Fast |
Low–Medium |
Penetrating exterior oil; wipe-back critical |
Good |
Matching the oil to the wood species is a core reason why some outdoor furniture turns blotchy while identical-looking furniture treated with the right product comes out beautifully uniform.
How Surface Preparation Makes or Breaks the Finish
Surface preparation does more to determine your final result than any other part of the oiling process. Proper prep removes the oxidized gray layer, opens the wood’s grain, and creates a clean, receptive surface that oil can penetrate evenly.
For weathered furniture, this typically means cleaning, light sanding, and sometimes brightening the wood with an oxalic acid-based product to neutralize tannin stains and restore pH balance. Cleaning handles surface contaminants, while sanding takes care of the oxidized layer and smooths out the grain. Brightening then corrects any remaining discoloration and brings the wood back to its natural tone before any oil goes on. Deep discoloration, heavy buildup, or repeated incorrect oiling typically requires a full chemical strip rather than light sanding alone.
This multi-step preparation process is standard practice in our work. When the surface is properly prepped, oil soaks in evenly; when it isn’t, you get the exact blotchy appearance you were trying to avoid.
Choosing the Right Oil and Applying It the Right Way
Once the surface is properly prepared, product selection becomes the next priority. Penetrating oils formulated for outdoor hardwoods are designed to soak into the wood rather than form a film on top. They work with the wood’s natural structure and allow it to move with changes in humidity and temperature without cracking or peeling.
Follow this process for consistent results:
- Start by prepping the surface thoroughly. Clean, sand, and brighten as needed before any oil touches the wood.
- Apply a thin first coat by working in manageable sections, moving with the grain, using a brush or lint-free cloth.
- Wipe back all unabsorbed oil before it begins to skin over.
- Allow a full cure, not just surface dry. Follow the manufacturer’s curing window before recoating.
- On dense hardwoods like teak or ipe, a second thin coat after the first has fully cured provides better protection than a single heavy application.
If you’re uncertain which product is right for your furniture or want guidance before starting, our team is glad to help.
Environmental Conditions That Sabotage Even a Good Application
High humidity slows drying time significantly, which can cause oil to stay wet long enough to attract debris or run in ways that create uneven buildup. Very low humidity causes rapid drying that leaves no time to correct mistakes.
Ideal conditions for oiling outdoor furniture include overcast skies, moderate humidity, and no rain in the forecast for at least 24 hours. Planning your project around the weather isn’t overthinking it; it’s how professionals consistently achieve clean results.
What to Do If Your Furniture Already Looks Blotchy
If your furniture already has that uneven look after a recent oiling, the correction process depends on how severe the blotchiness is and whether the oil has fully cured.
For furniture where the oil is still tacky, wiping it down thoroughly with a clean cloth dampened with mineral spirits can help remove excess product and even out the surface. Once dry, assess what you’re working with. For furniture where the oil has cured unevenly, light sanding with fine-grit sandpaper typically around 120 to 220 grit removes the inconsistent layer and prepares the surface for a fresh, properly controlled application. The important rule: make sure the surface is completely clean and dry before reapplying. Putting more oil on without addressing the root cause will almost always produce the same result.
When DIY Is Not the Answer: Signs It Is Time to Call a Professional
There’s a point where the effort, cost, and risk of further damage outweigh the appeal of handling things yourself. If your furniture has deeply ingrained gray oxidation, cracking, or raised grain that sanding hasn’t resolved, the wood needs more than a fresh coat of oil. Many of the pieces we’ve restored along the Los Angeles and Orange County coastline have been repeatedly oiled without proper prep, leaving layers of built-up product that DIY methods simply can’t address without risking further damage.
If you’ve layered oil over old sealant or varnish residue, applied the wrong product, or are working with a high-value piece of teak or ipe furniture you can’t afford to get wrong again, a professional assessment makes sense. We use professional-grade cleaning and brightening agents, calibrated sanding equipment, and premium finishing products formulated for California’s demanding UV and coastal conditions.
All products and processes are aligned with California VOC regulations and clean air standards. More importantly, our decades of experience restoring exterior wood in California’s climate means we diagnose the actual cause of the problem rather than guessing at solutions.
When DIY results have fallen short, contact Teak Master for a professional assessment before the damage goes deeper.
Let Teak Master Restore Your Outdoor Furniture to Its Best
Teak Master has spent over 28 years working exclusively with exterior wood, restoring and refinishing teak, ipe, eucalyptus, redwood, cedar, and other premium hardwoods across Los Angeles, Orange County, Ventura, and Southern California. When you work with us, you get a thorough multi-step restoration process that covers surface prep, brightening, sanding, and a premium protective coating selected for your specific wood species and condition. We offer free pickup and delivery for select furniture projects and also serve commercial clients including hotels, restaurants, and HOAs. Our team is fully licensed, insured, and bonded.
To schedule a consultation or get a professional assessment of your furniture’s condition, visit our contact page or call (888) 448-8325.