What’s the Best Way to Prep Wood Before Applying Oil or Sealer?
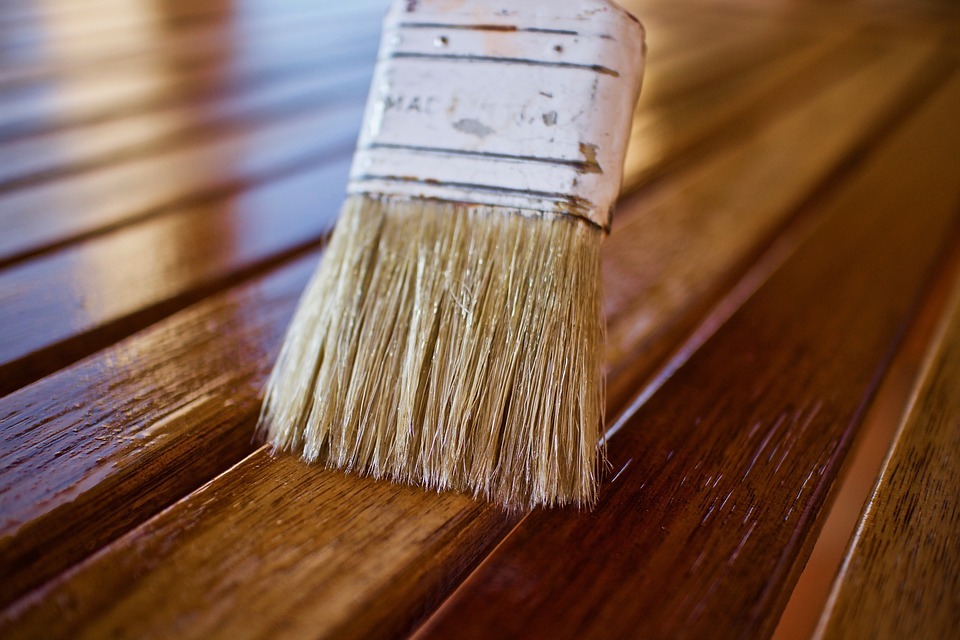
Image by sweetlouise is licensed with Pixabay License
Wood has a natural beauty that can enhance the exterior look of your home. Achieving the perfect wood finish takes a little time, but it’s well worth the effort. Oiling or sealing wood protects it, helping it to keep its natural look and making it last longer.
Why Prep Matters Before Sealing or Oiling
Prepping wood before sealing or oiling it is a key part of the process. Since wood’s a natural material, each piece can vary in porosity, and contaminants on the surface can prevent the treatment from adhering. If the oil or sealant doesn’t adhere, it won’t protect the wood properly. The right wood prep will:
- Ensure even absorption
- Make it easier to apply your chosen finish
- Prevent streaking
Cleaning the Surface to Remove Dirt and Residue
The first step in wood prep is cleaning it. The cleaning process will depend on the type of wood you are working with, but the best way to clean most wood is by using a damp rag. This is an important step in the prep process because it can help you catch any problem areas before you apply the sealant.
Clean the wood using just water unless you come across a stubborn spot that’s difficult to eliminate. If needed, add a small amount of mild soap to the cloth and scrub gently.
New Wood
If you’re working with new wood, it will need to be sanded to create a smooth surface for the finish.
Used Wood
If you’re working with used wood, the cleaning process takes a few extra steps. Since it’s been used before, it probably has paint, stain, or varnish on the surface. You’ll need to remove this. Use a paint and varnish remover to clean the surface, or use coarse sandpaper to remove the coatings from the surface.
Sanding Techniques for Smooth, Even Application
Once your wood is clean and dry, you can start the sanding process. Foam sanding pads are the best choice. These will conform to the different contours of the wood, making better contact without scratching. Learning how to sand wood before sealing is important.
There are a few things to consider when choosing sanding paper. Don’t start with very fine sandpaper if you’re working with unfinished wood. Start with medium paper and then work your way to a finer grade.
The type of wood you’re working with will also determine the type of sandpaper you need to use.
- Soft woods such as alder or pine should start with #120 grit. Work your way to a finer grit, but don’t go any finer than #220.
- Hardwoods such as teak and maple should start with #120, but these should finish with a grit that is no finer than #180 or #150, depending on what you are applying for a finish.
The goal is to lightly scuff the surface, giving the sealant a small amount of texture to adhere to. Make sure you follow the direction of the grain throughout the entire sanding process. This can minimize the risk of scratches. It’s important to note that scratch marks that go against the grain will become more visible once you apply the oil or sealant if you don’t address them.
Dealing with Stains, Mold, and Mildew
Once you have cleaned and sanded the wood, you can check the surface over for any stubborn stains or signs of mold or mildew. If you find any problem areas, there are a few ways you can address them.
First, scrub the area with mild dish detergent and water. Avoid saturating the wood, as mold will persist if it doesn’t dry completely. After you’ve scrubbed, don’t rinse the surface; use a clean, damp cloth to remove the residue.
After you’ve cleaned it, allow the wood to dry completely. If there is still mold on the surface, you can use white vinegar or a mixture of bleach and water to kill the mold spores.
Drying and Moisture Considerations
The moisture content of wood will affect how it absorbs stains and sealant. If there is too much moisture, it can prevent the sealant from adhering. After you have cleaned and sanded the wood, make sure to let it dry completely before attempting to oil it or seal it.
If you want a more accurate indicator of how much moisture is left in the wood, you can use a moisture meter to get a reading.
Final Steps Before Applying Oil or Sealer
The final steps in the wood prep process are vital to ensuring you get a smooth finish with a professional look. Don’t skip these last steps.
Final Sanding
You’ll want to give the wood one more sanding before sealing or oiling it. After you’ve used a wood filler to fill gaps and fixed and damaged spots or scratches, give it time to completely dry.
Once it is dry, once again start with a medium-grit sandpaper and progress toward a fine-grit. This last sanding will create a smooth surface and open up the pores of the wood so it can absorb the sealant.
Get Rid Of The Leftover Sanding Dust
The last thing you do to prepare the wood is to wipe it down one last time. Even if you’ve already wiped down the wood after sanding with a foam sanding disc, you’ll need to do one more wipe to get rid of any sawdust that might still be there. Now, you know how to clean wood before applying oil, and all the steps involved in preparing outdoor wood for refinishing.
Setting the Foundation for Long-Lasting Results
Prepping wood before finishing will make it look better. It will also make it more durable and improve its ability to withstand wear and tear. If you have questions about prepping wood or what to use for oil or sealer, please give us a call. Our team has over 20 years of experience in exterior wood refinishing and happily serve all of Southern California. We can answer questions about how to prepare wood for finishing and help you restore the wood on your deck.